I received several requests about basing for 100 dice, hexes size and miniatures scale, therefore I decided to take some pics and post them here.
As most rules in the last decade, 100 dice does not require rebasing: you can play with whatever miniatures you have. For hexes - however - you shoud follow the golden rule: a hex must contain 2 of your bases side by side. As I wrote in the rules, take the base with the largest front and double the size: this will be the needed hex measurement across. A few pics will tell more than 100 words.
6mm.
One of the most popular way of basing these little soldiers is 6 x 3 cm. with 2 or 3 stripes of minis. Being 6 cm the frontage of a base, you need at least hexes which are 12 cm across.
Top row, left to right: a British Infantry unit in Combat Formation and an Unformed Light Infantry in woods.
Center row, left to right: a General, an Artillery unit (here I doubled the base for visual effect, but you need just 1 Artillery base to play) and an Austrian Infantry unit in March Formation.
Bottom row, left to right: a Cavalry unit in March Formation and the CinC.
The same pic with a different angle. Thanks to Antonio for lending me his Baccus 6mm.
Golden rule: maximum frontage 6cm = hexes 12 cm across.
10mm.
Many different basing systems here, as some producers make 10mm figures in stripes of 5, some go for single figures. I have Old Glory, whose Infantry is in stripes of 5. The largest stripe of Infantry is about 3 cm, so I made 7cm hexes to have some space on both sides.
Top row, left to right (all French units): an Unformed Light Infantry in woods, a unit of Cuirassiers in Combat Formation, and Hussars in March Formation.
Centre row, left to right: the CinC with a General, an Infantry unit in Combat Formation and another in March Formation.
Bottom row: an Artillery unit. All Old Glory miniatures, painted by Fernando Enterprise.
Golden rule: maximum frontage 3cm = hexes 7cm across.
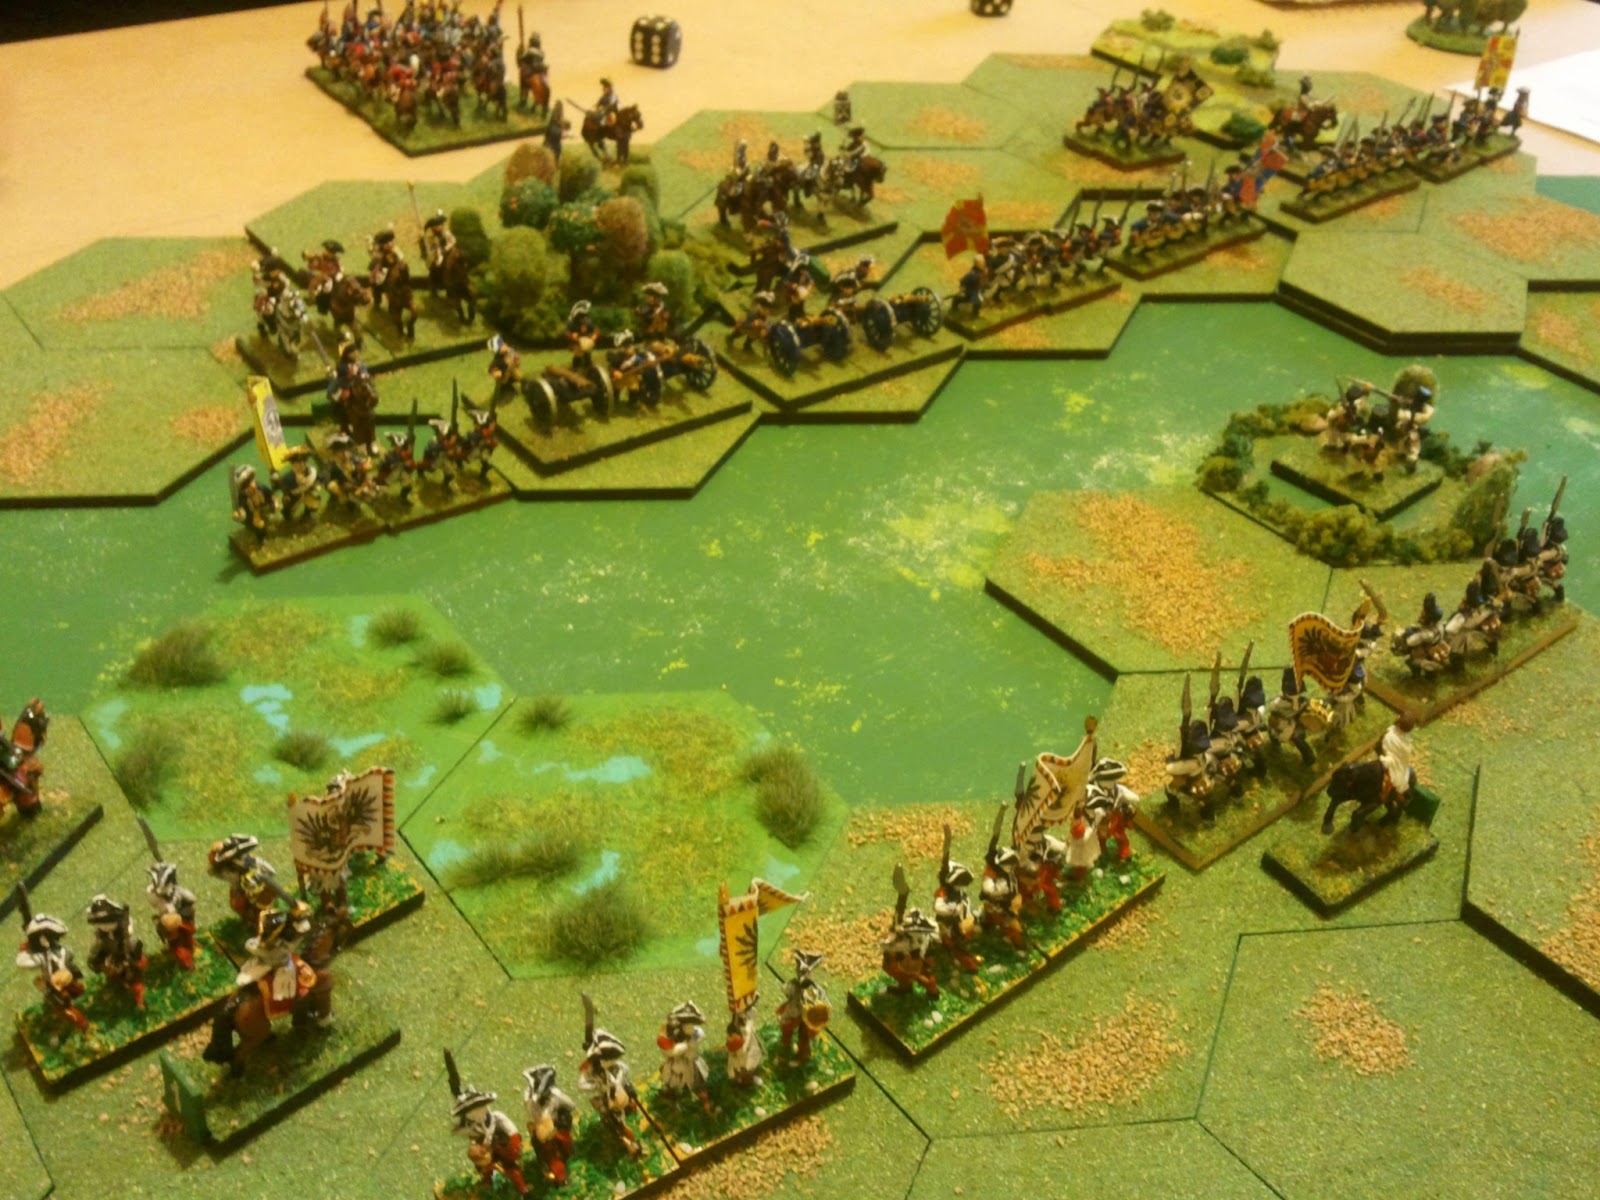
15mm.
Here also we have many different basing systems. One of the most popular is 3 x 1,5cm (that's also the advised basing for Drums & Shakos Large Battle). Again, 7cm hexes would be OK, but if you want to have more space on the sides, you can go with 8cm.
Top row: Unformed Light Infantry in woods.
Centre row, left to right: a General, a Light Infantry unit in March Formation, and a Cavalry unit in Combat Formation.
Bottom row, left to right: an Infantry unit in Square (I enjoyed myself to make a dedicated base, otherwise you can use a *normal* unit and arrange the bases back to back), an Infantry unit in Combat Formation and an Artillery unit. Old Glory, Minifigs and Fantassin miniatures, some painted by me some by unknown artists).
Extended Golden rule: frontage 3cm = hexes 8cm across.
28mm.
One of the most common basing is 4 figures on a 4x4cm, with deeper bases for Cavalry. To accomodate the horsemen, we'll need a 12cm hex.
Top row, left to right
: a General and Unformed Light Infantry in woods.
Centre row, left to right: an Infantry unit in March Formation, another in Combat Formation and a Cavalry unit in Combat Formation.
Bottom row, left to right: an Infantry Square and an Artillery unit.
A closer view on the French Square and the Unformed Light Infantry (Prussian Jaegers). My 28mm are individually based, so I used some Perry plastic bases as sabots. Hexes are scratch built, but you can easily find them on the Internet. Miniatures are Perry plastic, Mirliton and Front Rank, self-painted.
Et voilà: with 3 types of hexes (7, 8 and 12cm, with 8 being more a luxury than a need) I can play with any Armies I have from 6 to 28 mm, using the miniatures I have and without rebasing.
The biggest table I need is about 150x150 cm, the smallest some 90x90.